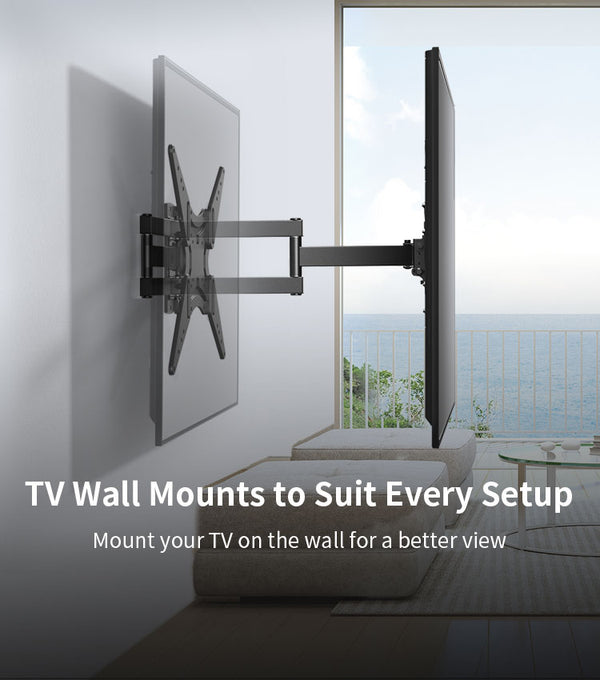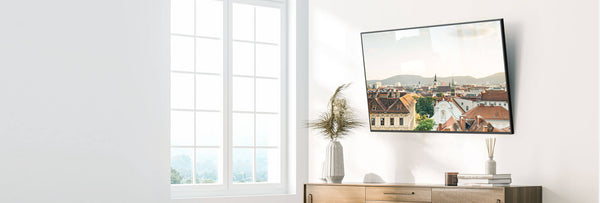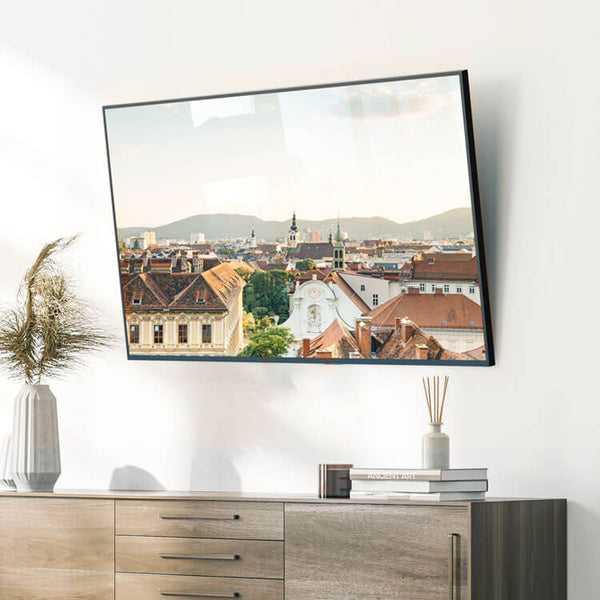
Mount your TV on the wall for a better view
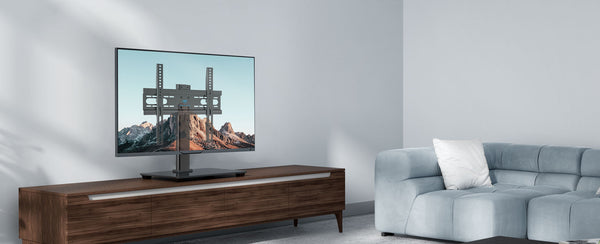
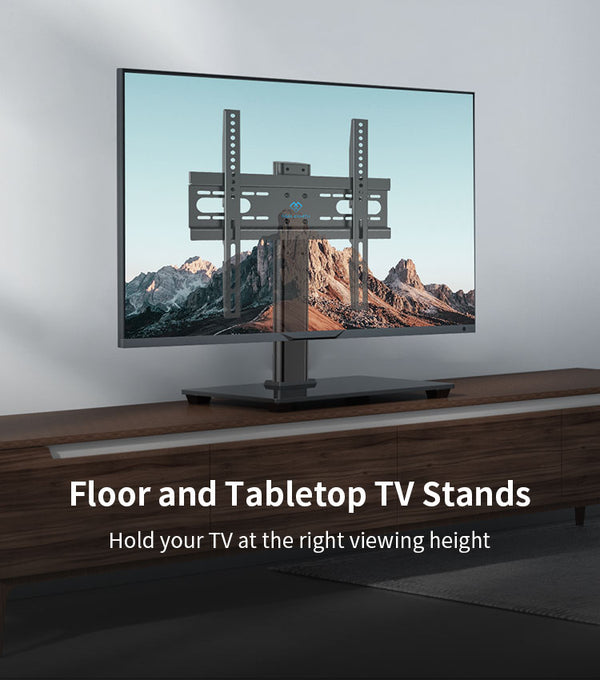
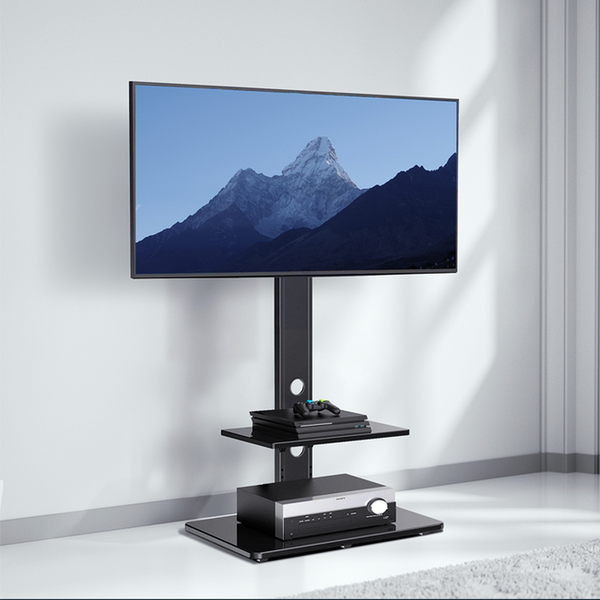
Hold your TV at the right viewing height
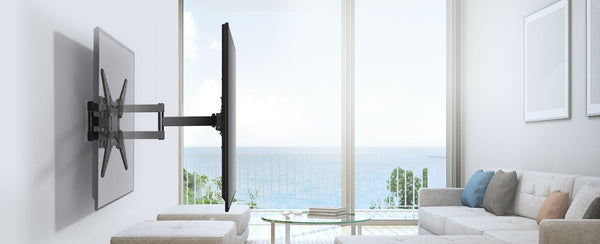
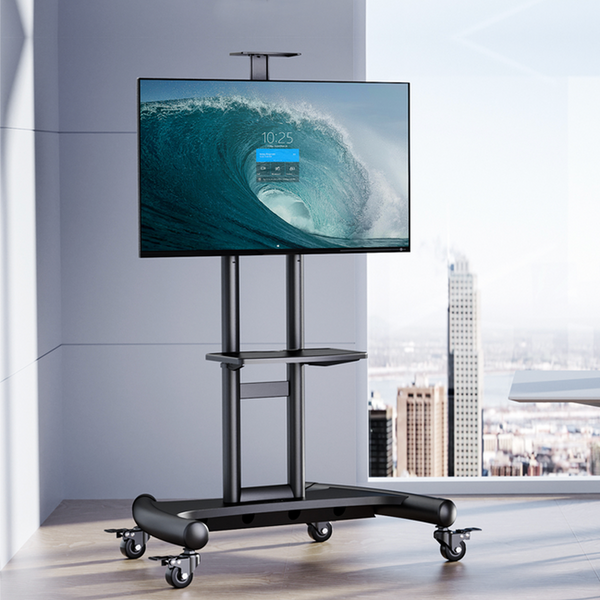
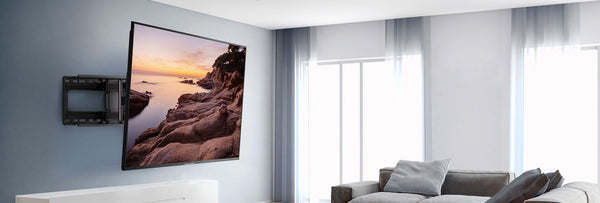
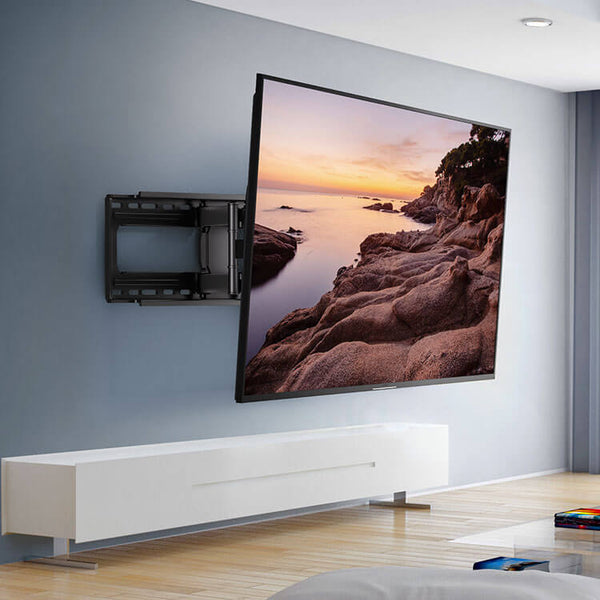
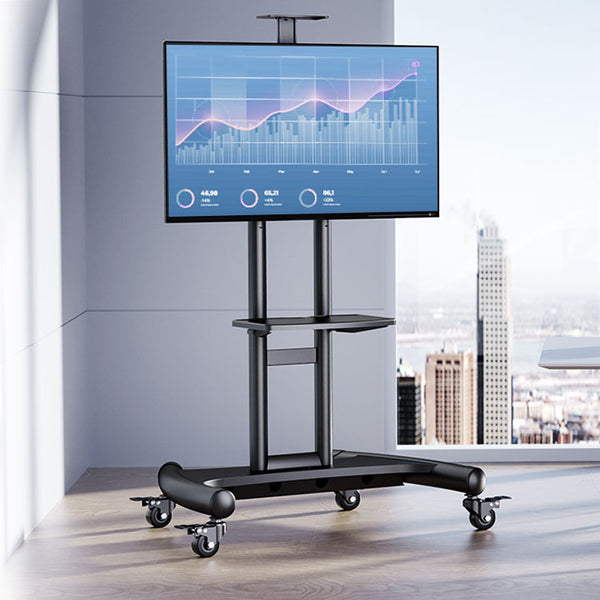
Move your TV anywhere with ease
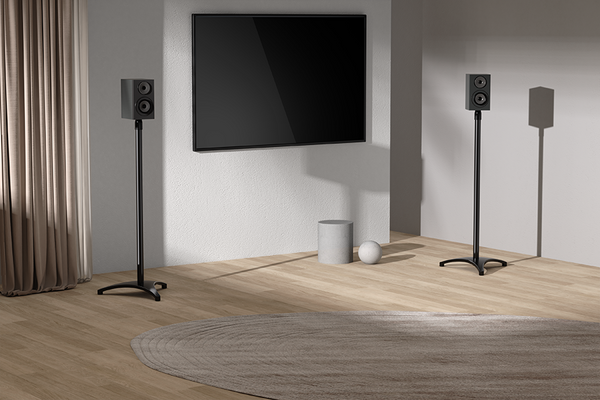
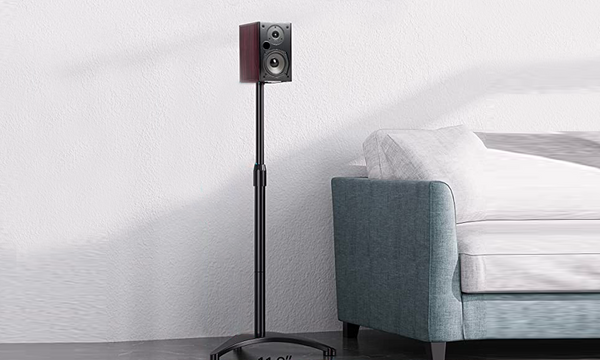
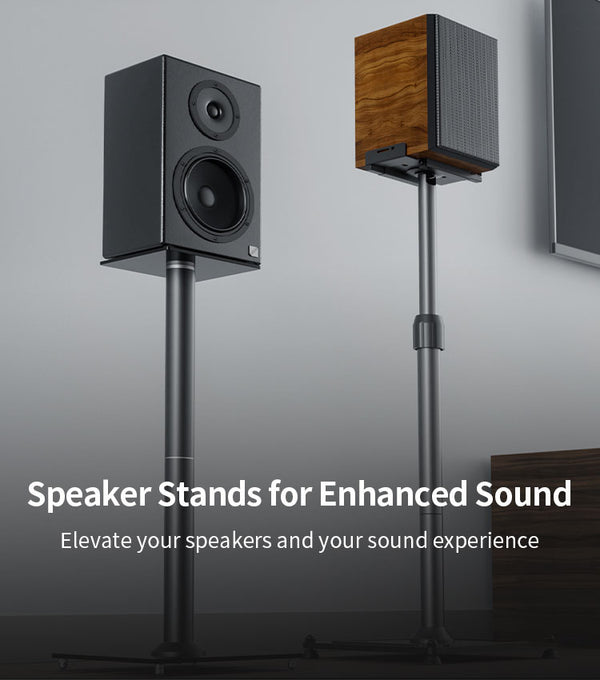
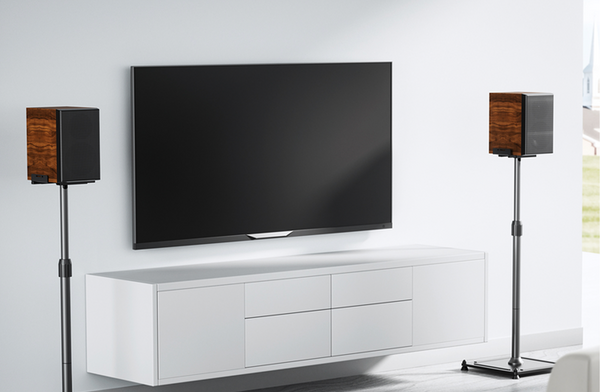
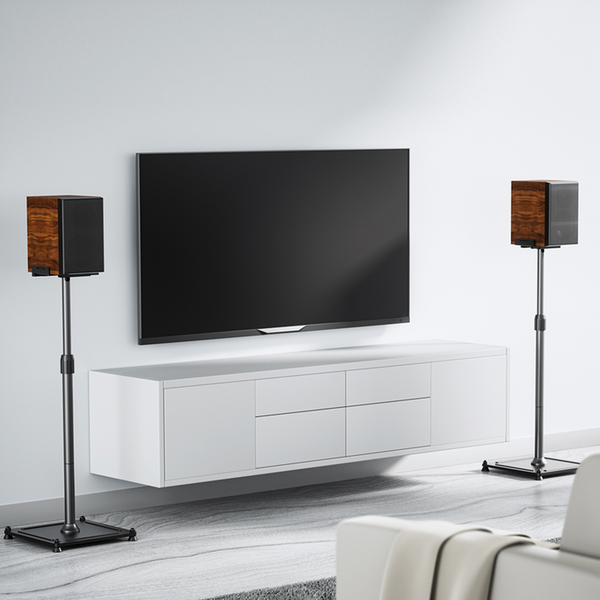
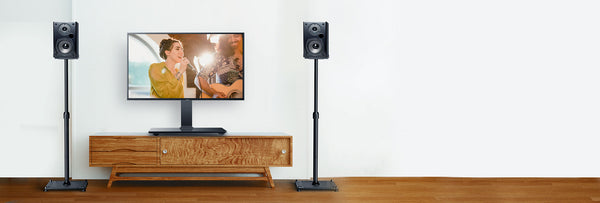
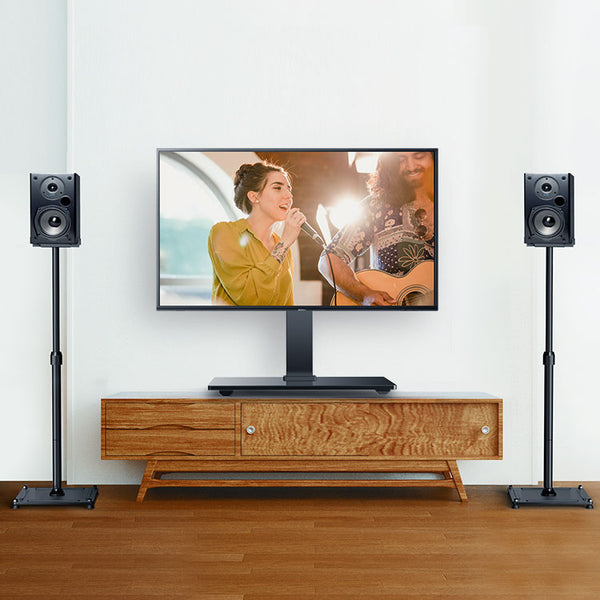
Elevate your speakers and your sound experience
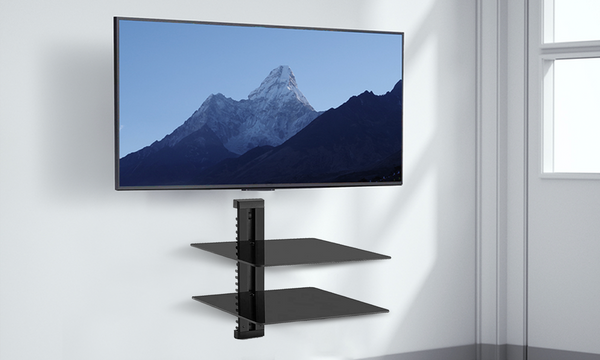
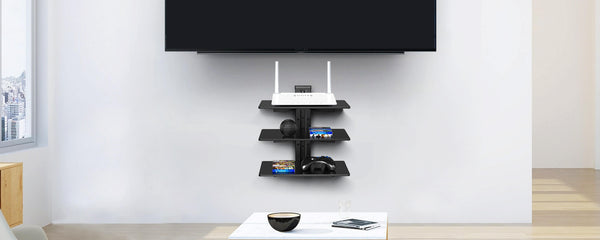
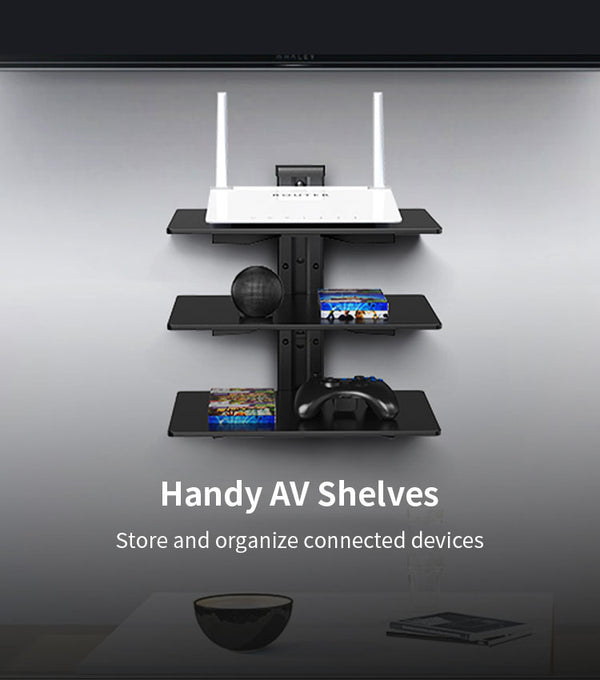
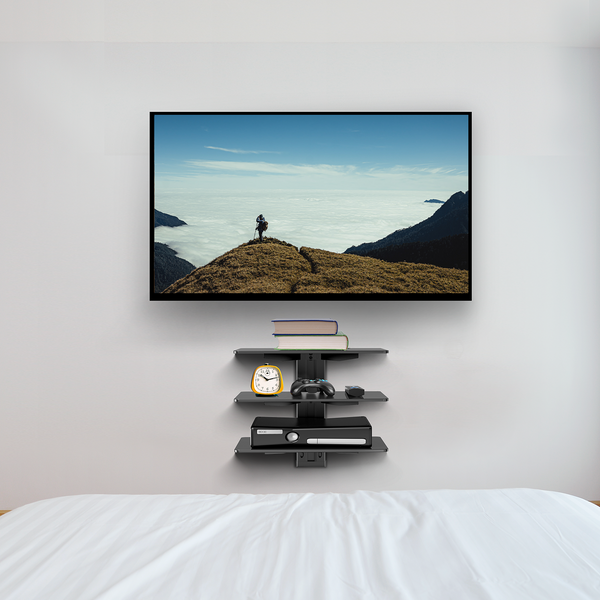
Store and organize connected devices
Perlesmith Advantages

Our Products
The Perlesmith Lifestyle
Featured Products
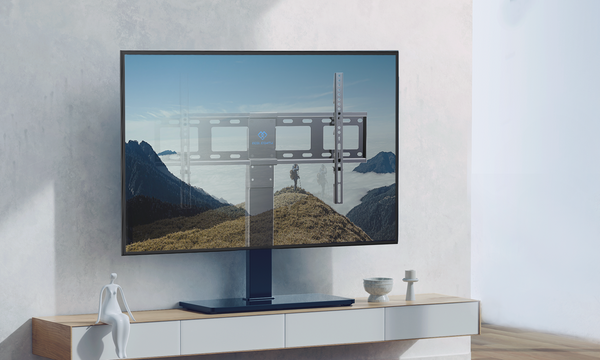
PSXFK1
Highly adjustable for optimum viewing.
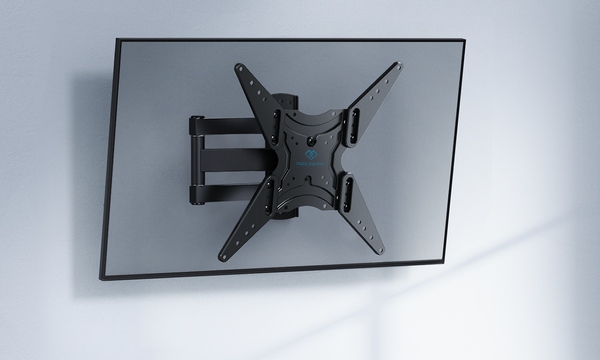
PSMTK1
Comfortable angle and sleek, low-profile mounting.
PSSS2
Get the perfect level to elevate your music.
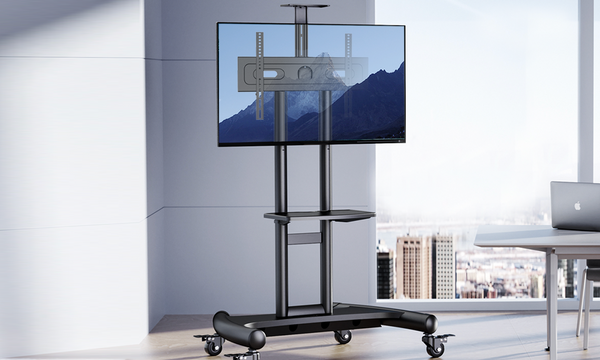
PSTVMC05
Heavy-duty mobility for large TVs and accessories.
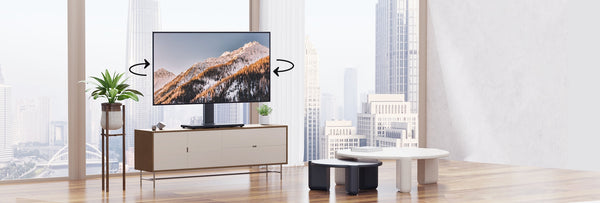
PSTVS13
Turn your TV to always see clearly.